Maybe you need to blend in with your surroundings a bit better. Maybe you need to reduce your IR signature. Maybe you just want all your parts to match.
There are plenty of good reasons to refinish your rifle, and it’s one of the easiest upgrades you can make to your AR-15. Whatever your motivation, shelling out to have your anodizing redone or a coat of custom Cerakote applied isn’t always in the budget. Even for those with money to spare, opting for a professional refinish risks your rifle looking exactly like everyone else’s.
Applying a custom paint job yourself, on the other hand, ensures that not only will your rifle look exactly how you want it to, but it will also be completely unique. You have absolute control over the color, the pattern—everything.
Painting your own rifle also provides the same satisfaction that so many of us find in building our guns. It’s a unique experience to work on your firearms with your own hands. But, it can also be nerve-wracking to take a can of Krylon to your favorite $3,000 build.
That’s why we’ve put together this step-by-step guide that will walk you through the process.

Why Paint an AR-15?
Of course, there are more concrete reasons to paint your AR-15 yourself.
The primary one is to reduce visibility. Black rifles may be iconic, but they stand out like a sore thumb in a natural environment. Whether in a desert, forest, or tundra, a large chunk of flat black anodization is never going to blend in.
Spray painting your rifle allows you to break up the uniformity of the rifle. Even a simple tiger stripe pattern with two alternating colors vastly reduces your rifle’s visibility. More sophisticated patterns with multiple colors can be even more effective, and if you really want to disappear, you can use your local vegetation to create a pattern and palette that matches your surroundings flawlessly.
Depending on your choice of paint, you can even reduce your AR-15’s visibility under night vision. Certain brands offer considerably lower IR reflectivity compared to a standard anodized finish.
But that’s not the only reason to paint your AR-15. Not everyone needs to be able to blend in with the woods, but if you use your rifle regularly, it will start to develop wear eventually.
A spray paint finish is a great way to cover up all the little scuffs and scrapes AR-15s acquire at the range. Of course, spray paint isn’t any more durable than anodizing—less durable, in fact—but once you’re familiar with the process, you can reapply your finish as often as you want.
Spray painting your rifle can be done in less than an hour, for less than $20. A few cans of spray paint will last you for multiple coatings, so if you’re repainting frequently, the costs will amortize out to be even lower.
How to Prepare an AR-15 for Painting
Before you break out the Rust-Oleum and start blasting, there is a little prep work that needs to be done. Following these steps will ensure you get the best results from your spray paint finish.
Clean and Degrease
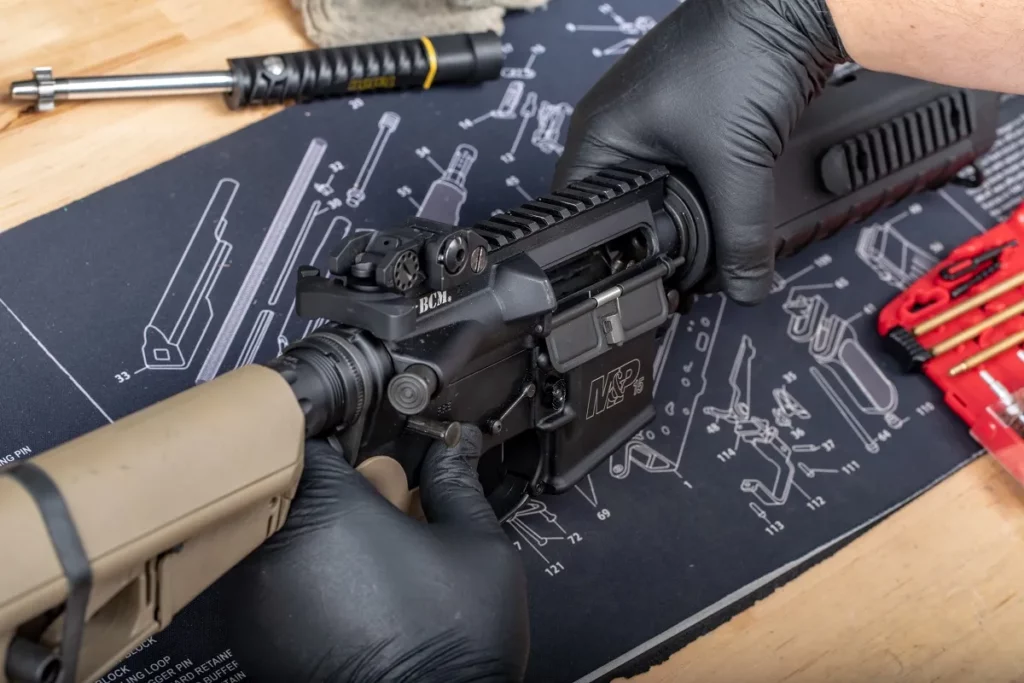
The first step in this process is to clean your rifle. You don’t have to scrub it spotless, but any areas where the paint will be applied need to be clear of carbon buildup or other fouling. Dirt, dust, and any other natural debris that the rifle has acquired need to be removed as well.

After cleaning, degrease your rifle thoroughly. Any grease or oil on the surface of the rifle will prevent the paint from adhering, so degrease both the entire exterior of the rifle and any areas where oil could leak out. That means the interior area around the charging handle opening, the joint between the upper and lower receivers, the forward assist, and the ejection port.
Assemble
We recommend only partially assembling your rifle. You can leave out the charging handle and bolt carrier group; they won’t be painted anyway, so they don’t need to be installed, and it can make the next process easier if you leave them out.
A magazine can be inserted or left out, depending on your preference. Magazines can also be painted separately on their own.
Tape and Mount
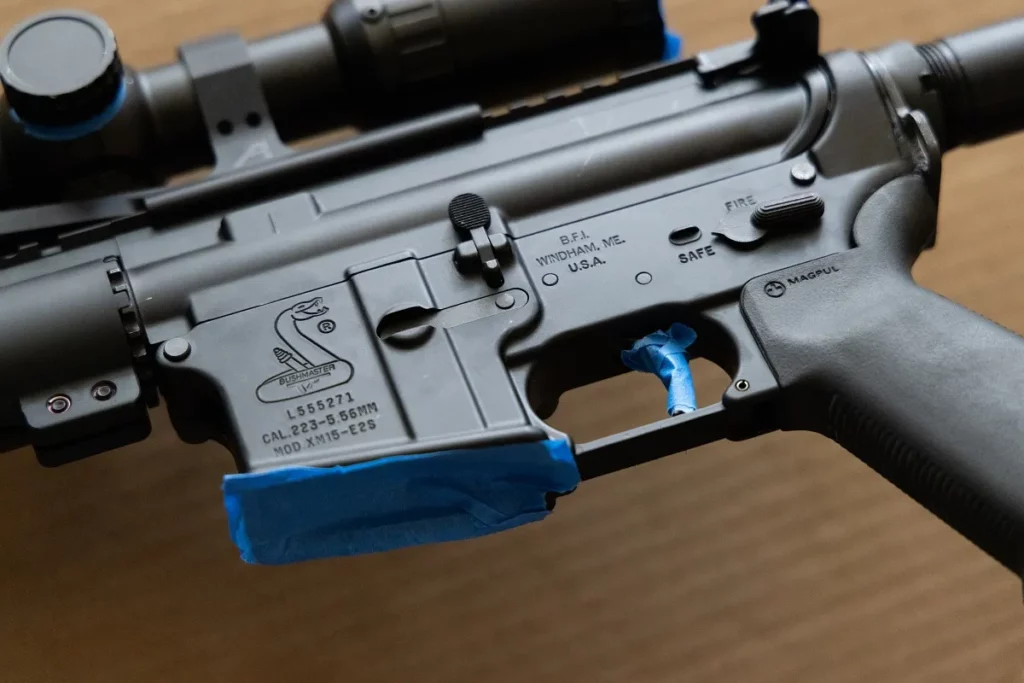
Next, you’ll need to tape the rifle. We want to paint the exterior without getting any paint inside the rifle where it could cause a failure, so it’s important to cover any area where paint could enter. If your rifle has an ejection port cover, close it. You can also tape over the ejection port from the inside to be extra cautious if you prefer.
Tape the forward assist and the charging handle opening next. Optionally, you can tape the inside of the magwell, but it’s easy enough to avoid spraying directly up into it, and a little paint inside the lower areas of the magwell usually won’t harm anything.
If your stock has a fairly tight fit to your buffer tube, you may want to tape your buffer tube and any openings in your stock that would allow the paint to reach it. On the other hand, loose-fitting stocks can often slide over the paint just fine.
Lastly, tape over any parts that you don’t want to paint. The more surface area you paint, the more your rifle will blend in, but ultimately what parts to paint and what parts to leave is a personal decision.
With your rifle taped up, it’s time to mount it for painting. The best way to do this is to hang it with fishing wire. You can hang it from a single point and let it dangle vertically, or attach the wire at two points and hang it horizontally. Either will do, although we prefer hanging vertically, as it gives better access to the top and underside of the rifle.
If you don’t have any fishing wire, you can also use string or paracord. Even a bent clothes hanger can do in a pinch. You can even just lay your rifle down in the grass or on a piece of cardboard if you’re unable to hang it, but hanging will usually provide the best and easiest results.
It might go without saying, but since you’ll be working with aerosols, hang your rifle in a location with a lot of ventilation.
How to Paint an AR-15
With the prep work done, it’s time to get into the art and science of painting.
Choosing Your Paint
There’s no one best spray paint for AR-15s, so we’re not going to dive into the brand wars. Krylon, Behr, Rust-Oleum, Aervoe—pick your favorite and be happy. Color will ultimately be more important than brand for most applications, so we recommend whichever brand is available in a shade closest to your desired result.
For maximum concealment, pluck a couple of pieces of local foliage of different colors and take them to the hardware store with you. Don’t feel any obligation to stick to one brand; all the brands we’ve tested work just fine together, so if you want to do a Krylon base layer and Rust-Oleum accents, feel free.

You’ll need at least two colors. We recommend an earth-tone brown, tan, or green for the base coat if you’re going for a camouflage effect. The subsequent colors will depend on your area of operation, of course. For the best results, your accent colors should be darker than your base layer.
While two colors are the minimum, you can use as many as you like. Three or four colors will typically provide better concealment, but you’ll generally see diminishing returns after that.
Choosing Your Pattern
Equally important as your paint, if not more so, is the pattern. Palm frond camouflage can only work so well in northern Maine.
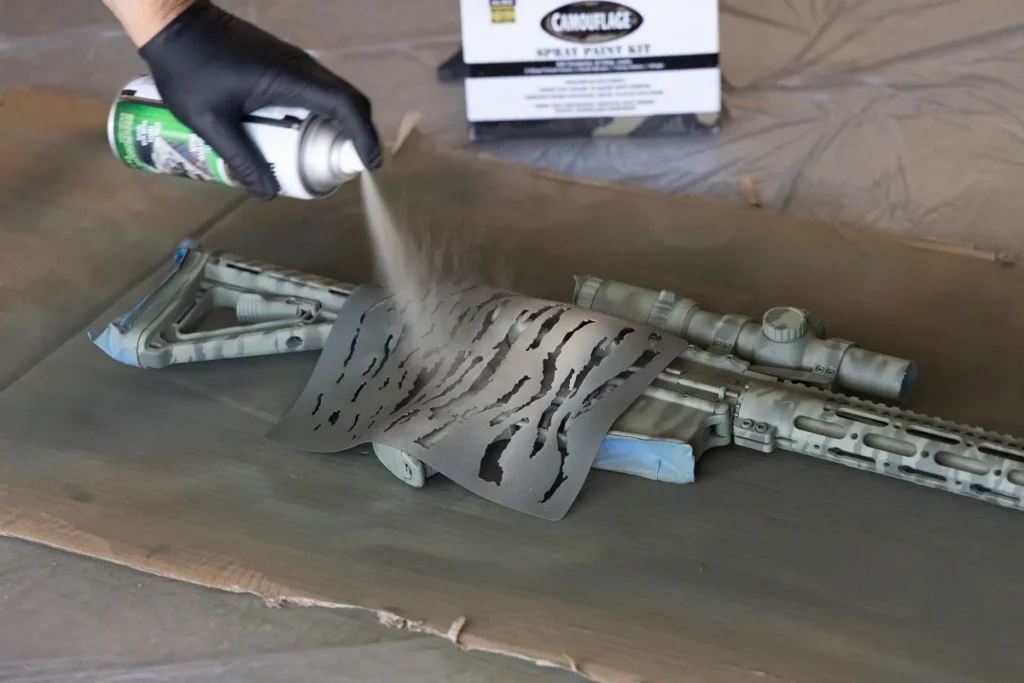
You can use a generic pattern, such as tiger stripe, for decent effectiveness in a wide range of environments. These types of patterns can be made using ripped pieces of painter’s tape or using a stencil. Stencils are a bit more expensive upfront, but save you a lot of time and effort, so if you’ll be painting multiple rifles or repainting frequently, we highly recommend them.
We offer several stencils in popular patterns. If you want your rifle’s finish to match a common camouflage, such as flectarn or digital, a stencil is usually your best bet. By using a stencil, you can be assured that the shape of the cutouts matches your desired pattern precisely, rather than guessing at the right dimensions. Like all our products, they’re built tough, and will probably outlast your rifle.
As with paint choice, for maximum effectiveness, you’ll want to match your pattern to your environment using local foliage. Pluck a few pieces of varying sizes and flatten them out as best you can.
Painting
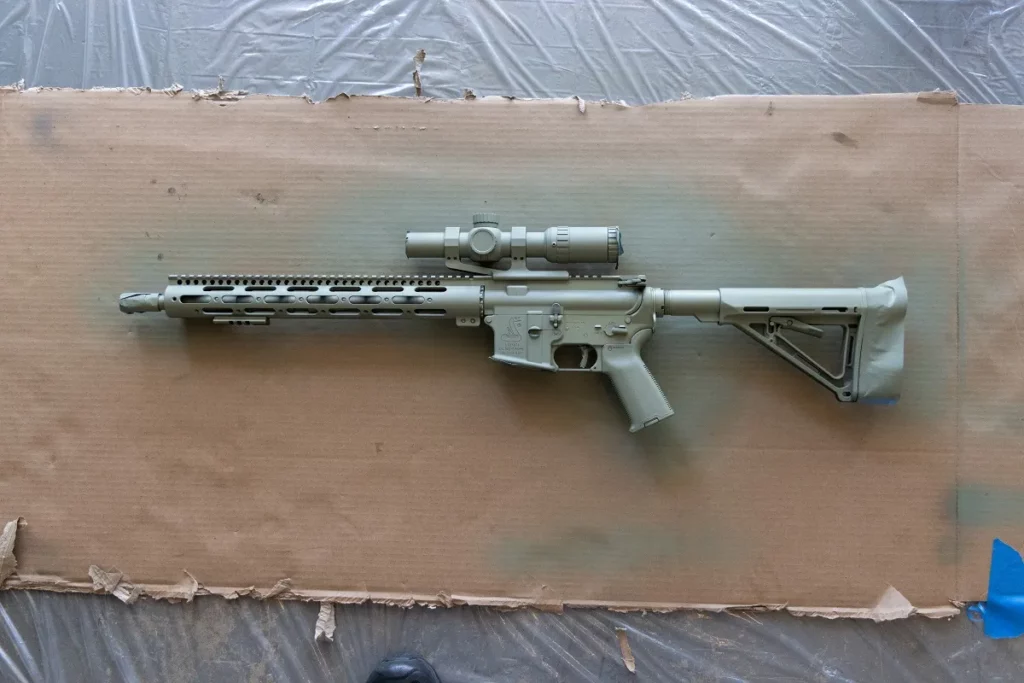
With the rifle prepped, the paint bought, and the pattern decided, it’s time to start painting. First, you’ll need to apply a base coat. With long, even strokes, paint the rifle fully. It’s important to move at a steady pace, neither lingering nor rushing over any one area.
You’ll want to maintain a consistent direction as well. A back-and-forth motion will usually result in uneven coverage. Start at one end of the rifle, proceed to the other end, stop, return to the original end, and repeat.
Once the rifle is fully coated, you’ll need to leave it to dry for a little while. The exact amount of time will vary depending on your atmospheric conditions and the paint your chose. In many cases, 10 or 15 minutes will do.
For the impatient, you can speed this process up using a heat gun or hair dryer. Just be careful not to overdo it; too much heat can cause the paint to bubble.
When the paint has dried, it’s time to add the pattern. If you’re using tape for this part, rip the tape into your desired shapes and apply it to the rifle. It’s important to remember that the tape is marking where the paint won’t go, so you’re actually shaping it into the inverse of the final pattern.
With the rifle fully taped, repeat the painting process from the base coat.
For those using foliage or stencils, this step is easier. Simply hold your patterning material over a section of the rifle and spray. Remember to maintain even passes, as you did when applying the base layer. Most stencils and leaves won’t be larger enough to cover your entire rifle, so do one area at a time, then move the stencil to another area and repeat.
This is where the science of painting a rifle gives way to art; nobody can really tell you what makes a good pattern or a good aesthetic. Good camouflage follows certain rules—varying sizes in leaves or splotches, two to four colors, a pattern neither too simple nor too complex—but that doesn’t make a pattern look good necessarily.
How you want your rifle to look is, ultimately, up to you.
After applying your final top coat, it’s time to wait. Leave the rifle somewhere well-ventilated for at least 24 hours, but ideally 2-3 days. After that, it should be fully range-ready.
Conclusion
Painting your AR-15 isn’t a difficult task, even though it can be a bit daunting the first time. If you start your project with a plan in mind, though, and follow the steps we’ve laid out, you’re sure to end up with a happy result.
If you don’t, it’s not the end of the world—it’s just an excuse to paint your rifle again.


