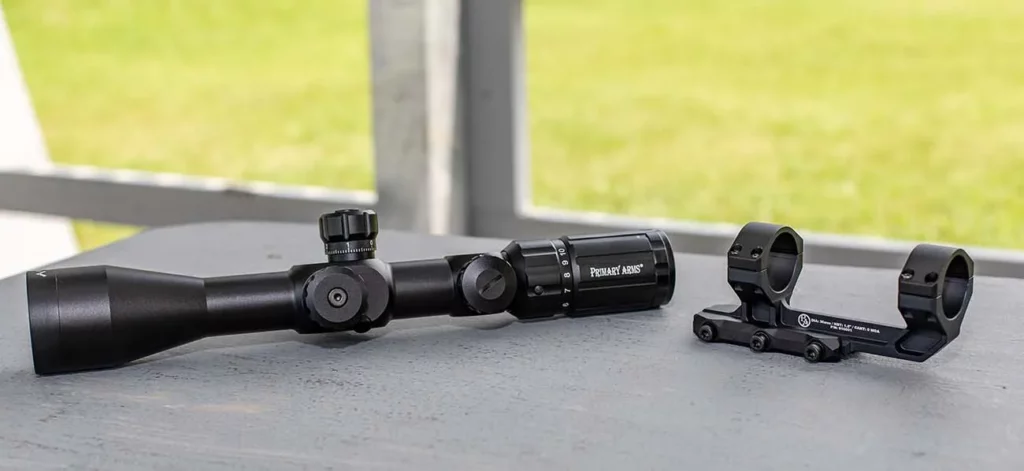
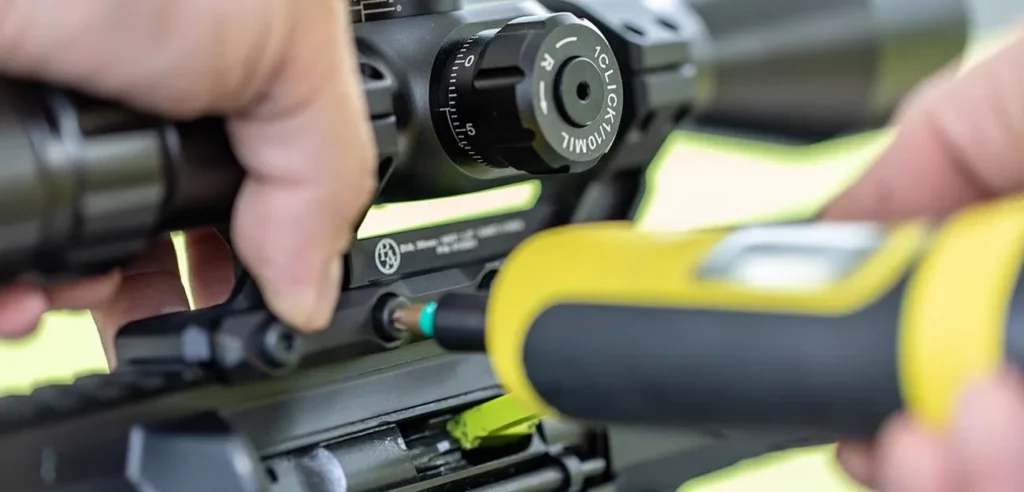
Rifle scopes have come a long way in the last decade. New materials and ceaseless engineering birthed stronger, more reliable scopes that survive even in the toughest conditions. Even so, every scope, no matter how expensive, shares the same weak point: the mount. For any rifle setup, the most common point of failure for an optic is the mount. If a mount isn’t set up properly, the question isn’t if a scope will slip—it’s when. It could be at the first trip to the range, or it could be in the middle of a crucial 3-gun stage. Either way, a busted scope mount is a critical failure that can quickly end a good day.
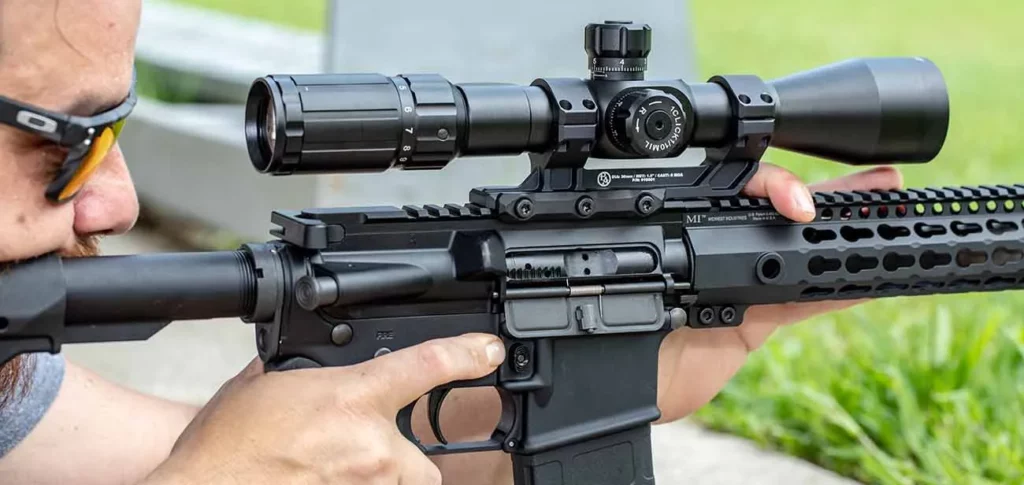
Mounting your scope doesn’t have to be a painful process. To help, we’ve prepared a guide to cut down on time at the workbench and get you headed towards the range. In this article, we’ll highlight the two most popular types of picatinny scope mounts and provide a step-by-step guide for setting a strong bond between your scope, your rifle, and your mount.
Types of Mounts
In general, there are two types of mounts that most shooters will use for mounting a rifle scope on a Picatinny rail: one-piece mounts and ring mounts.
One-Piece Mounts
Over the years, one-piece mounts have become the most popular option for mounting variable-power scopes on sporting rifles, particularly on the AR-15. One-piece mounts are chosen for their consistency and stability, even in the harshest conditions. If you are planning to mount a scope on a duty rifle—or if you prioritize reliability above all else—you should consider using a one-piece mount.
One-piece mounts come in several different varieties and sizes depending on your needs. All rifle mounts are sized to match the diameter of your scope tube, but one-piece mounts also come in cantilever mounts and non-cantilevered configurations. Cantilever mounts enjoy a smaller footprint, making it easier to position the scope for optimum eye relief on rifles with short top rails, such as the AR-15. Non-cantilevered mounts are more popular on precision rifles with long, monolithic top rails. Both cantilever and non-cantilever mounts can add built-in elevation to extend the adjustment range of your scope—an important feature for some long-distance rifles.
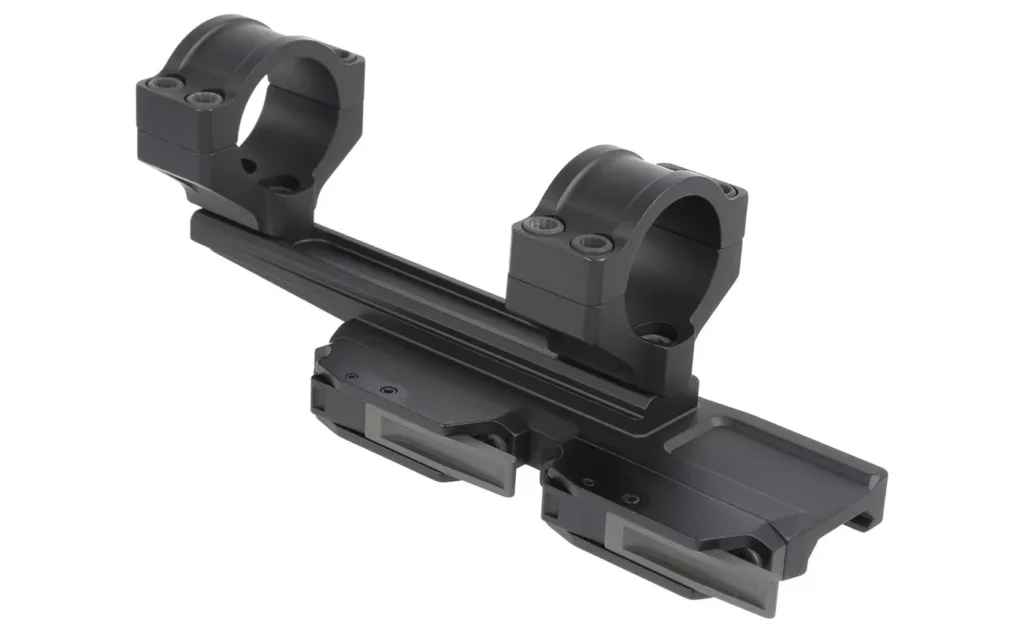
One-piece mounts are also differentiated by quick-detach or fixed attachment. Quick-detach scope mounts (QD) attach to the rail using an adjustable throw-lever and cross-bar. Users can quickly attach or remove the scope from the rifle with the lever alone, allowing for a change of optics in the field without the need for tools. For a duty rifle, where a damaged optic may need to be removed, the practicality of this feature cannot be understated. Still, QD features add to the cost and weight of the mount. If quick-detachment is important in your setup, check out battle-tested offerings from reputable manufacturers like the Recon QD mount from American Defense, or the QD Precision Optic Mount from Bobro Engineering.
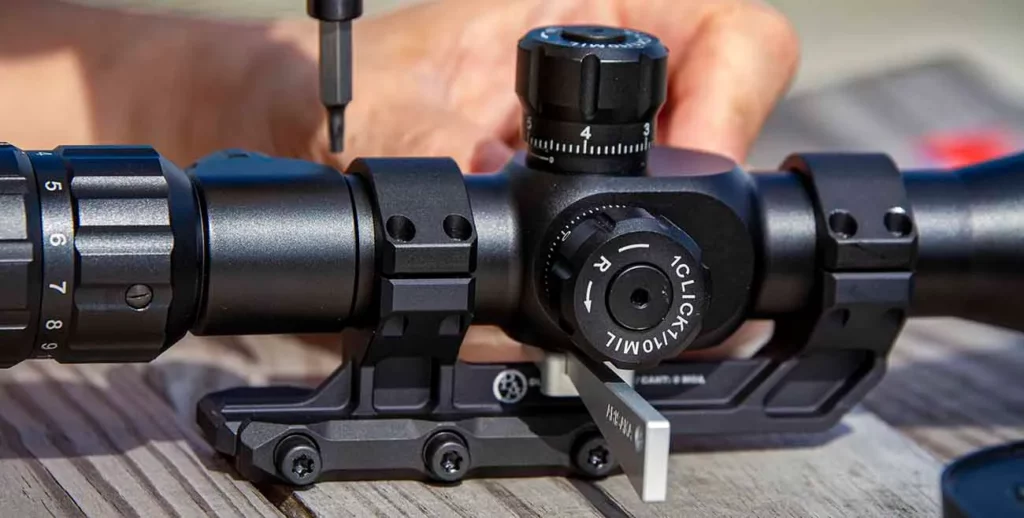
If you prioritize mounting strength and weight savings above all else, fixed scope mounts will edge out their QD counterparts in raw holding power, but they cannot be removed without tools. Fixed mounts are still very popular, particularly in competition rifles and precision setups, where consistency is king. There are many options for good fixed mounts, but manufacturers might differentiate by durability, weight savings, or cost effectiveness. The Ultralight Aero Precision Scope Mount is known for being one of the lightest on the market, weighing in at under 4 ounces. Here at Primary Arms, we’ve focused more on repeatable precision with our new Extreme Clamping System (ECS) mounts, which come equipped with US-made steel hardware to generate up to 6500lbs of mounting force. We’re so confident in its strength, we back it with a full lifetime warranty. Look for our new ECS mounts to arrive later this year. Our existing lineup of Primary Arms scope mounts offer incredible quality and value. Our Deluxe line of one-piece mounts come in 30mm and 1-inch models, each available in standard cantilever or extended cantilever styles, and are less than $60. The Primary Arms 30mm Basic Scope Mount is the ultimate option for shooters on a budget, costing less than $25 and built tough to handle recoil for years to come.
Scope Rings
Rings are the tried and true classic for scope mounting. Traditional bolt-action rifles used dovetails for mount attachment, so rings were the only real option for most shooters. With the widespread acceptance of the picatinny rail, one-piece mounts have become more standard, but rings still carry many attractive benefits for precision shooters. Rings are lighter than one-piece mounts and come in different heights, so users can select the optimum mounting height for their scope. If you want to get the right fit for yourself as a shooter and for your rifle, this handy calculator can confirm what rings will work with any given rifle and scope setup.
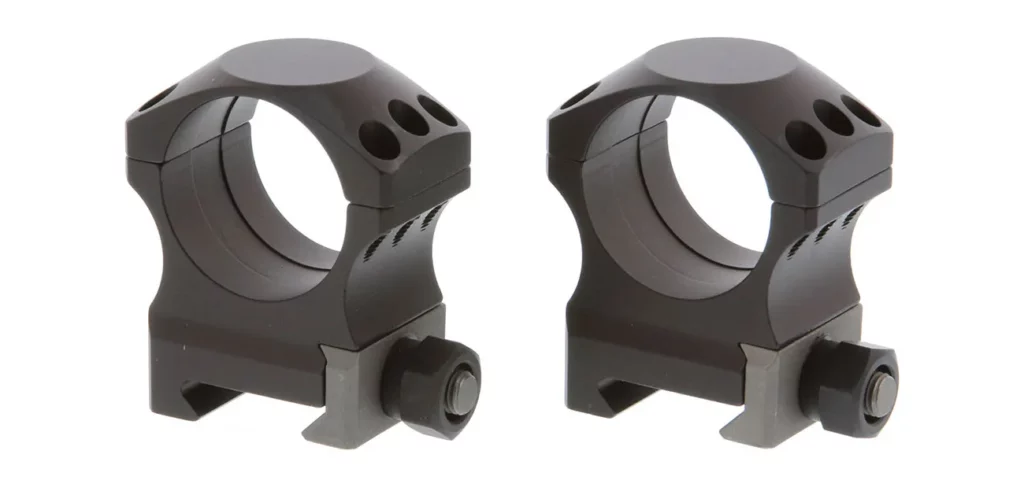
While rings may have fallen out of favor for the tactical crowd, they are still very well-represented in the precision and long-distance shooting competitions. Bolt action rifles are prime hosts for ring setups, as rings require very little rail space for attachment. The variety in ring heights guarantees a comfortable cheekweld with any setup. Rings are also simpler in that the focus will always be on the strength and consistency of the mount, as weight reduction and QD-features are less important on precision builds.
There are many great brands for rings, but a few stand out in popularity. Nightforce X-Treme Duty Ultralight Rings and Seekins Precision 4-Cap Scope Rings are well-regarded for their impressive build quality and consistency. Vortex rings come in at a good cost and hold up under heavy use. The new Primary Arms ECS line features rings for 30mm, 34mm, and 1in scope diameters, with four height options available for each. Just like the one-piece mounts, ECS rings are built from US-made steel hardware to achieve unprecedented strength in rail attachment. Our ECS rings (and all other ECS mounts) carry a full lifetime warranty as proof of our pursuit of quality.
Parts Needed
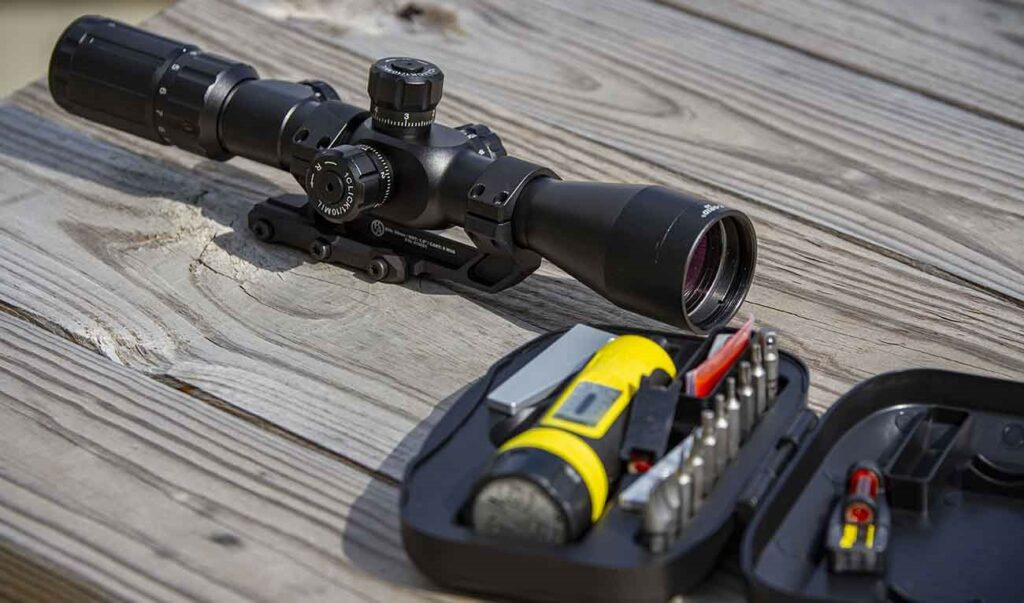
There are some important tools and parts to setting a mount right. Most can be found individually on primaryarms.com, but if you want a full setup, Wheeler sells a complete scope mounting kit that holds everything you’ll likely need.
Bit Driver/Torque Wrench Screwdriver
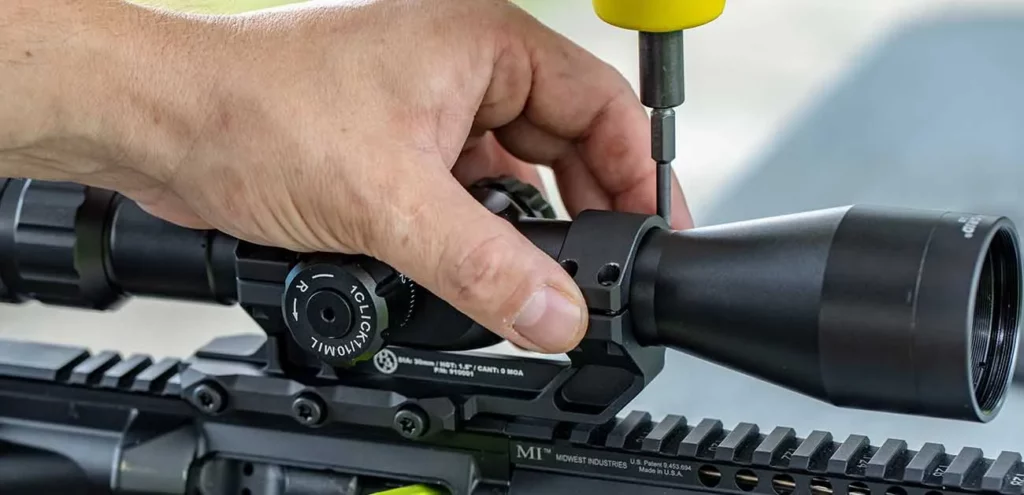
Every mount recommends optimal torque settings. Too much torque will mar the scope or strip screws. Too little torque will allow the scope to slip loose. A bit driver is good, but an electric torque screwdriver is best, as you can quickly set each bolt and screw to manufacturer specification. The Wheeler FAT torque wrench is the standard among gun owners.
Screwdriver Bits
A driver is only as good as its bits. Most optics and mounts come with hex keys, but these are nowhere near as precise as a purpose-made screwdriver bit and driver. Most hardware stores carry the bits you’ll need. The strongest mounts will use Torx bits, as Torx heads are less likely to strip under torque than a hex head.
Bubble Level
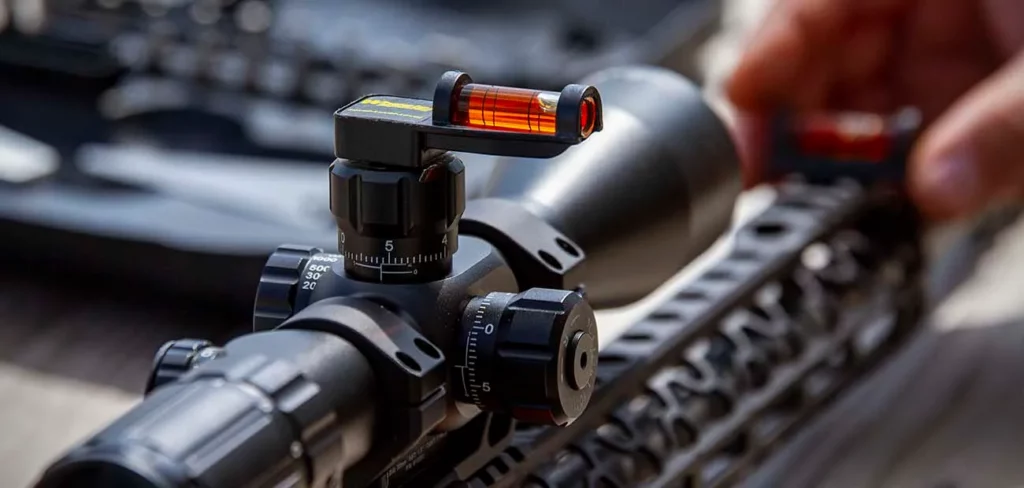
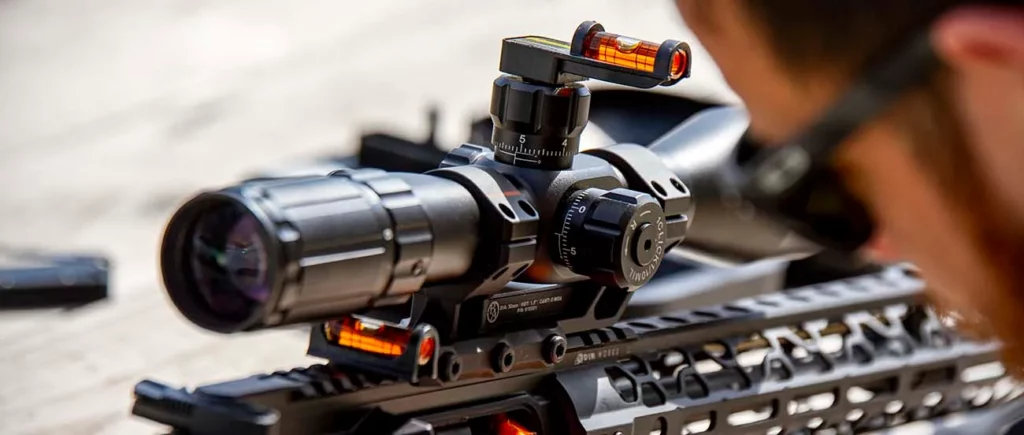
You’ll need a bubble level. Ideally, two miniature bubble levels, so you can check both the alignment of the scope and rifle simultaneously to confirm a match. A ruler level can be used in a pinch, but you’ll have to be delicate in moving the level between the optic and rifle. As you see here, we used a digital level. These are a little more expensive, but well worth the money if you want truly exacting precision.
Blue Loctite + Degreaser
Major bolts and screws will need to be secured with BLUE Loctite. Blue Loctite is strong enough to keep everything snug, but it can be broken by hand. If you buy red Loctite, you’ll be in for a little surprise if you ever try to loosen the screws. Red Loctite will require heat to be applied to remove it, such as blasting it with a really strong hair dryer. It’s just a pain, so we recommend simply using the standard for most gun owners. Get the blue stuff. You’ll also want a degreasing compound to clear the threads on the mount before you begin.

Workstation / Vise
While mounting the optic, you’ll need a large workspace and a way of keeping your rifle upright and level. A padded gun vise and workbench work perfectly for this purpose.
Steps:
The steps for both one-piece mounts and ring mounts are similar. The biggest difference is that rings have two bases that need to be separately attached to the rail, while the one-piece mount has only one.
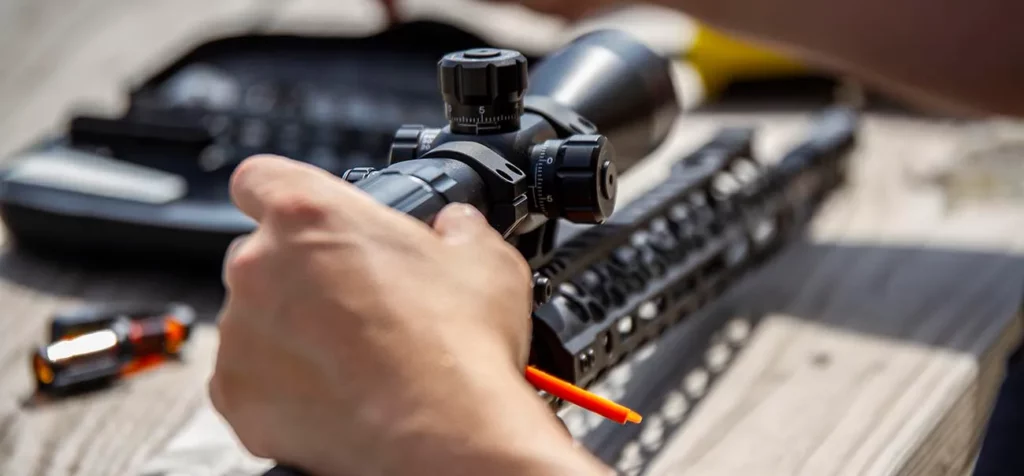
- Clear your rifle. Remove the magazine or any ammunition. Verify that it has an empty chamber.
- Degrease the mount and its hardware. Clean off any oil or smudges in the threads that might affect the Loctite’s ability to cure properly.
- Place the one-piece mount on the top rail. For magazine-fed rifles, most shooters will place a cantilever mount’s base just above the magwell. Non-cantilever mounts will need to sit further forward to achieve the same placement of the scope. Rings can be individually adjusted to match the scope’s size and the rifle’s available rail space.
- Remove the mount’s top caps and set your scope on the mount to verify that you can achieve the necessary eye relief when you shoulder the rifle. If you cannot manage eye relief, move the mount forward or backward on the rail until you get a full, clear image through the optic. At this point, you can remove the scope and set it aside.
- Once you know the desired position of your mount, you can fasten the base to the rifle. This process will differ between fixed and quick-detach mounts.
For fixed mounts, apply a small dot of blue Loctite into the bolt threads and set the mount onto the rail. Tighten the bolts to the mount manufacturer’s stated torque.For quick-detach scope mounts, follow manufacturer’s instructions to achieve the correct mounting strength. Be mindful of your level of tension. If the throw-lever requires all your strength to open and close, you are probably scratching your rifle’s rails. - Now that the mount is secured to the rifle, set the rifle in a vise or support it so that it is evenly level. Place a bubble level on a section of top rail to verify that it’s balanced front-to-back and side-to-side.
- Place the scope back into the mount, verifying once again that you’ll achieve eye relief when shooting. Most scopes will have some flexibility in the exact seating position within the mount. You can make fine adjustments in the placement of the scope to guarantee that you’ll have the best eye-box while shooting.
- Once you’ve found the perfect position, set the top caps in place and tighten the screws to the point that the scope no longer slides freely in the mount. Be sure to tighten all cap screws evenly to prevent any left or right skew.
- Place a bubble level on the elevation turret of the scope. Turn the scope clockwise or counterclockwise until the bubble reads level. Verify that both the rifle and scope are evenly aligned. If they are not co-aligned, your turret adjustments will be off, and you will have to repeat this process.
- With the optic set and aligned, remove one top cap screw and place a small drop of blue Loctite on its threads. Return the screw into place and tighten very loosely. Any over-tightening will cause the optic to shift.
- Repeat the previous step with each screw, balancing out the screws to prevent shift. For example, if you tighten down a left screw, repeat the process with a right screw. Monitor shift with the bubble level on top of the scope.
Once everything is torqued down, there will probably be a small gap between the mount base and the top caps—this is normal. Do not try to remove this gap completely, or you may over-torque the screw and strip it. Just try to balance the gap so it’s even on both sides. - Once all screws have been set to the mount’s recommended torque, take a final check to confirm both the scope and rifle are balanced and in alignment.
At this point, you will have to wait a full 24 hours to be sure that the Loctite has cured. If everything was done correctly, your optic will be secure and ready for range day.
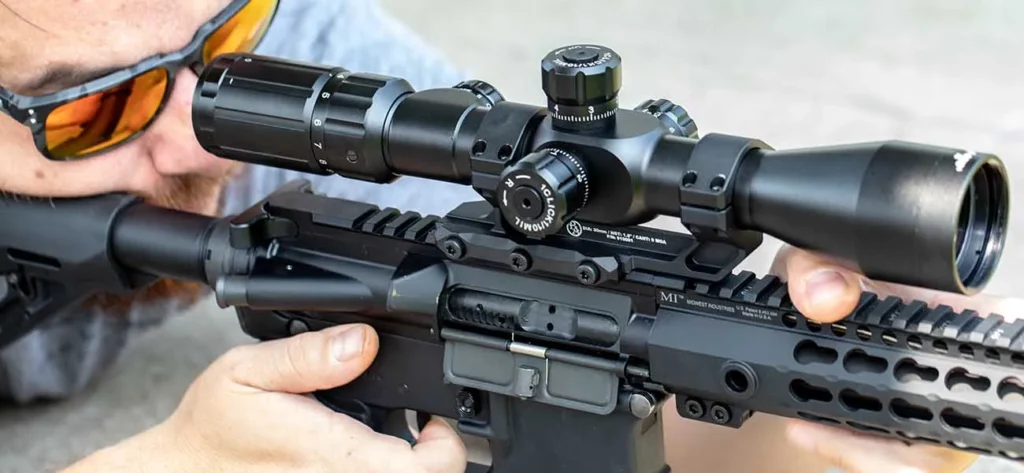
Conclusion
Mounting a scope isn’t exactly the most fun thing to do with your rifle, but it’s one of the most important steps in achieving your goals at the range. Optics teams spend countless days researching ways to make scopes as resilient and reliable as possible, but a scope can only go as far as its mount allows. Some shooters overlook the importance of mounts when budgeting for a new optic, and their experience suffers as a result. Smart shooters seek out the best mount of their scope and follow all the steps to establish a firm lockup between optic and rifle. In an ideal world, you notice the mount very little. In the real world, it means the difference between hitting your shots and missing them all. You’ve really only got to do it once, so why not take the extra time and effort to be sure you do it right?
