One of the biggest advantages of the AR-15 platform is the ease of working on it. With just a handful of tools and a few hours of video research, even a novice can turn a box of parts into a functional rifle. Many of us find the process of building, tuning, and customizing our rifles to be both a fun and rewarding experience. But, despite the AR-15’s simplicity, home gunsmithing can take some preparation.
The biggest hindrance is often a lack of specialized tools. AR-15s might not require a hydraulic press to build, the way AKs do, but some tools are still required. A lot can be done with just an armorer’s wrench, but to build a complete rifle, you’ll also need a torque wrench, vise, receiver block or bar, Allen keys, punches, and sometimes more.
Tools are easy to justify when you’re building your 6th AR, but if you only plan on owning one rifle or you’re working with a limited budget, all those tools might not be practical. Those living in apartments or homes with limited space might not be able to set up a workbench and vise, either.
Whether you’re in one of those situations or you just don’t have an interest in more labor-intensive upgrades, we’ve put together a list of improvements you can still make to your AR-15 using little or no tools or special knowledge.
Optics
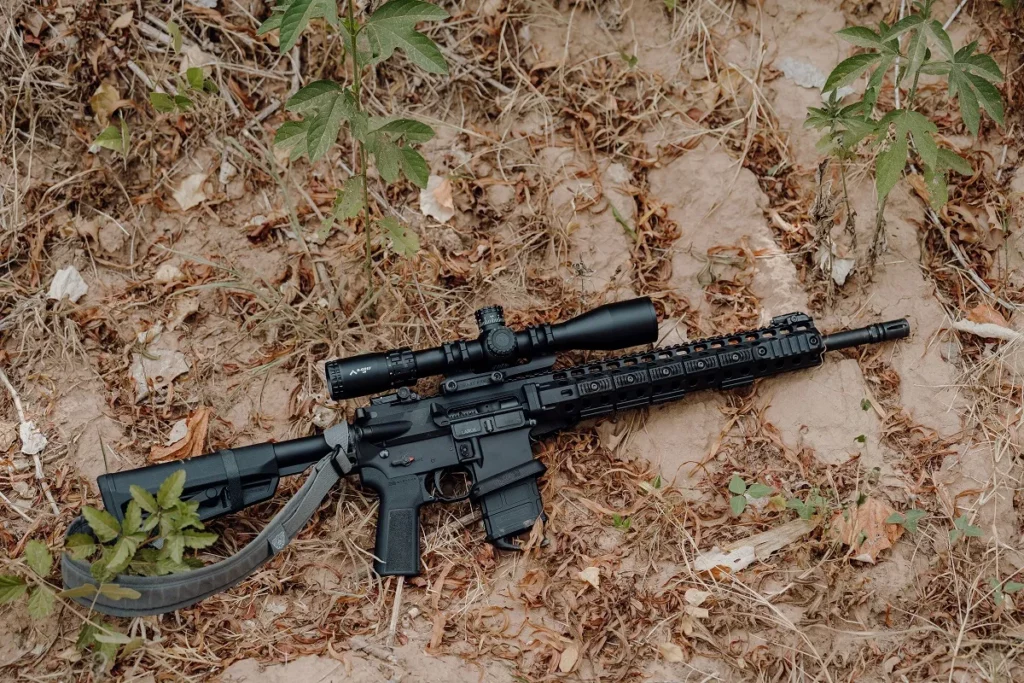
We know we recommend optics a lot, but there’s a good reason for it; nothing upgrades the capability of your rifle faster than adding an optic.
Red dots are faster, easier to use, and allow for a more target-focused approach than iron sights. scopes can let you see targets and details that would be impossible without magnification, as well as provide tools to help estimate range, compensate for bullet drop and wind drift, and correct for parallax.
Low-power variable optics are a subset of rifle scopes. LPVOs have an extremely low minimum magnification power, usually 1x or close to it, and commonly dial up to a maximum of 4x, 6x, or 8x.
These specialized rifle scopes offer a balance between the precision of a full-power rifle scope and the speed of a red dot by allowing users to dial down to 1x and then use a bold reticle or bright dot to quickly acquire a sight picture. But, the same optic also offers the ability to dial up to higher magnifications for precise shots requiring ranging or holdover.
Prism sights operate similarly, combining the benefits of a red dot and scope. Unlike LPVOs, prisms have a fixed magnification, usually somewhere between 1x and 5x. They can be very fast to acquire and offer impressive fields of view, like red dots, but have etched reticles and can operate independently of batteries, like scopes.
1x prisms have become very popular in recent years as a red dot alternative, particularly for those with astigmatism. 3x and higher prisms are often favored by users who want some magnification and functionality similar to a low-powered rifle scope, but at considerably less size and weight.
For red dots and prism scopes, installation is often as simple as bolting it onto your rifle’s rail using a Torx bit. Sometimes, tools for installing the optic are even included in the box with it. After bolting it in place, adjustments to zero the optic can usually be made with a simple flathead screwdriver, or sometimes just with your fingers.
Scopes require a bit more work to attach since they usually attach with a separate mount or ring pair. Users have to take care to maintain the scope level to the rifle during installation as well, or else risk their adjustments and crosshairs not being true to their bullet’s flight path.
Still, proper installation of a scope can be accomplished with nothing more than a torque wrench to properly tighten the bolts. A vise or rifle rest is convenient, but propping the rifle up securely can work as well.
Technically, you don’t even need a torque wrench; plenty of scopes sit in mounts secured with just a Torx bit and driver. However, to avoid damaging your scope or mount and to prevent dealing with loose components down the road, we highly recommend investing in an affordable torque wrench, like the Wheeler FAT wrench.
Furniture
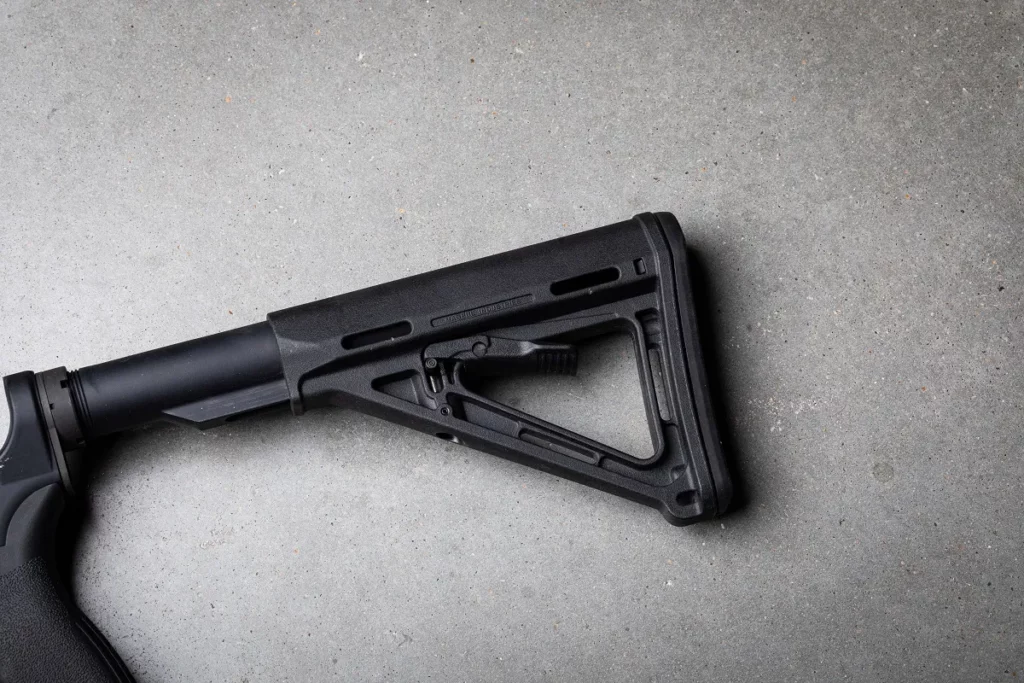
“Furniture” refers to the grip, buttstock, and sometimes handguard of an AR-15. Most of the parts are very easy to change and replace. Adjustable stocks can usually be replaced without any tools at all. To change a grip, you’ll need only an Allen wrench or screwdriver, depending on the type of screw used to install it.
Handguards can vary. If your current handguard is a drop-in model secured by a delta ring, it can be changed without any tools at all—although if you’re new to the process, you may find a second set of hands helpful.
Standard handguards are getting less and less common these days as the market trends toward free-floating rail systems, but if you still have an A2 clamshell, upgrading it will open up a whole world of possibilities. Whether you opt for a railed system like Midwest Industries’ drop-in quad rail or something sleeker like Magpul’s MOE series of handguards, upgrading allows you to start taking advantage of the vast array of aftermarket foregrips, hand stops, and more.
Free-floating rails are different. If your rifle has a rail, changing it will often involve removing the barrel nut, which starts to get into the world of vices, receiver blocks, and specialized wrenches. But, if your rail is from a common manufacturer, like BCM, you might be able to swap to a different model using the same barrel nut with little more than a torque wrench.
Beyond a new handguard, customizing your rifle’s stock allows you to fit it specifically to your body, your stance, and your method of shooting. For instance, if you spend a lot of time looking through a scope, swapping out a standard A2 stock for a SOPMOD model can provide a more comfortable and consistent cheek weld. Alternatively, lightweight options like the Mission First Tactical Battlelink stock can be an easy way to shave a few ounces off your rifle.
Grips can offer a lot of extra functionality, like on-rifle storage or more comfortable textures, but the biggest factor in choosing a grip should be the angle. Finding a grip that matches your natural wrist angle in your most common firing positions will help you bring your rifle up and on target faster and more consistently, as well as reduce fatigue over long firing sessions.
Foregrips/Hand Stops
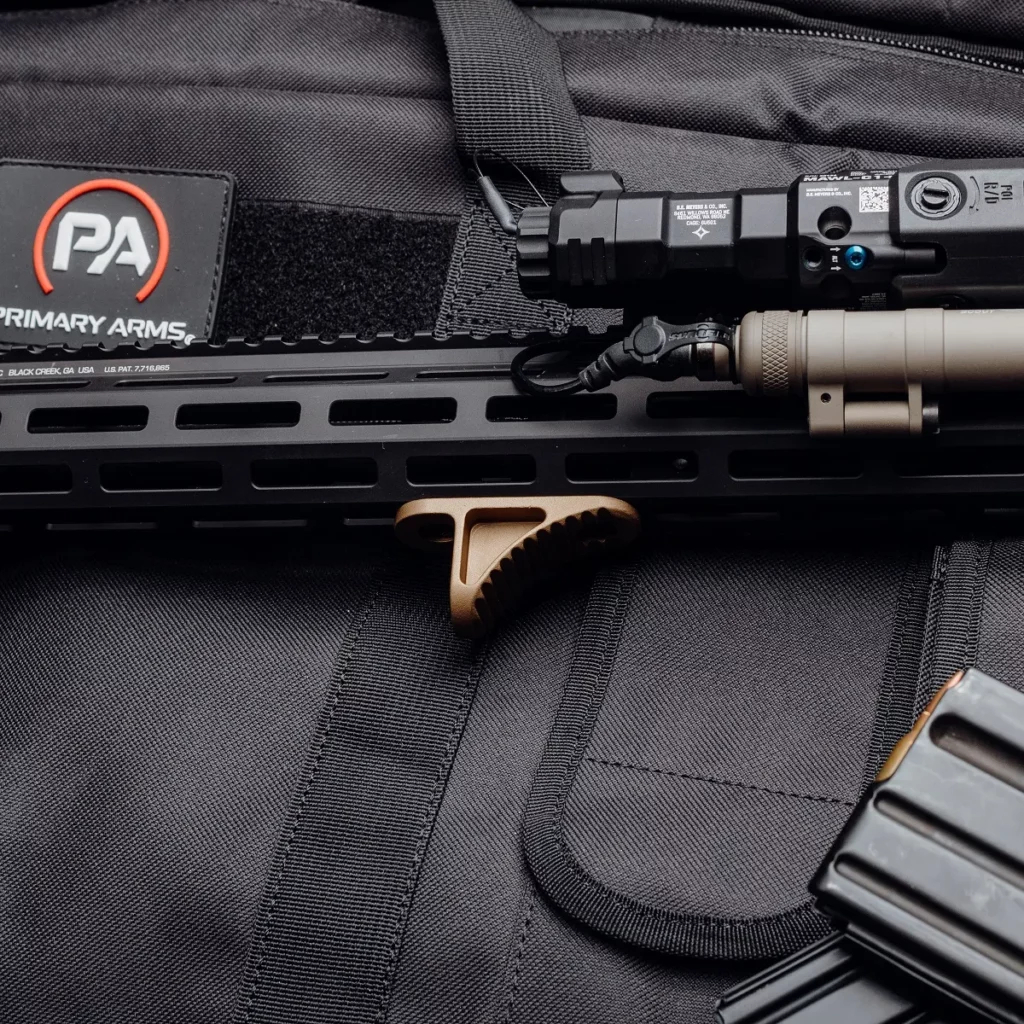
Foregrips and hand stops are among the most popular additions to any AR15 rifle. There’s a lot of variety among these accessories, but they all do roughly the same thing: help you control your rifle better.
They do this in a couple of ways. In the case of foregrips and some hand stops, they create a vertical surface that helps you pull the rifle back into your shoulder more securely while reducing the amount of pressure you put on your wrist. It’s worth looking up how to use these properly before adding one to your rifle, though; in most cases, a thumb-over position at the very top of the foregrip will yield better results than a traditional broomstick grip.
Barricade stops are a little unique in that they are technically there to help you brace the rifle against a barricade, wall, or rest, rather than aid you in gripping the rifle directly. But, because of how frequently these pull double-duty as hand stops, we grouped them together for this discussion.
Small hand stops, indexers, finger stops, and rail covers all do the job of making sure your support hand lands in the exact same place time after time. It’s a small thing, but it can have a measurable effect.
Consistency and repeatability are very important for accuracy. These sorts of upgrades help to support that; they’re not a substitute for practice, but they do help augment it. All of these accessories provide a physical indicator to let you know that you’ve placed your hand in the correct location on your rifle. If your hand is pressed against your foregrip or on your rail cover, you know it’s in the right spot and not a few inches forward or a few inches back.
This can also provide a small benefit for those using rail-mounted lights or lasers, especially with remote switches. Having your hand consistently in the same location makes the movement to activate your light or laser more consistent as well.
All of these upgrades install with only one or two bolts, or sometimes even a toolless QD attachment system.
Charging Handles
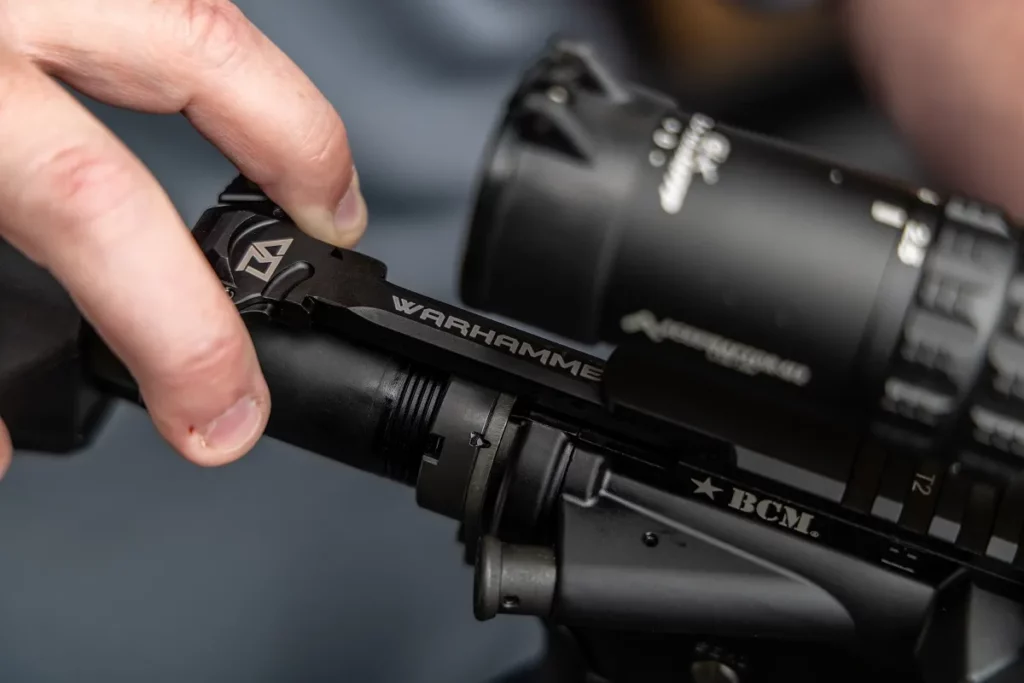
When it comes to AR-15 upgrades, it doesn’t get any quicker or easier than charging handles. Installation is absurdly simple and requires no tools at all; if you can clean your AR-15, you can drop in a new charging handle.
This upgrade isn’t likely to be game-changing, but it can provide some conveniences. Chief among them is ambidexterity—while not all aftermarket charging handles are ambidextrous, if you’re taking the time to upgrade, it’s almost always worth going to an ambidextrous model.
The obvious immediate benefit is the ability to charge your rifle with either hand, from either your dominant or non-dominant shoulder. That can be big for users who frequently drill from both shoulders, but even if you only shoot from your dominant side, an ambidextrous charging handle can make it easier to clear malfunctions or manually lock your bolt back.
Additionally, some charging handles can help reduce gas emissions from the opening at the rear of the upper receiver. Depending on how well-gassed your rifle is (and if you run a suppressor), that feature may or may not be of value to you. If you frequently find yourself dealing with hot gas to the face at the range, it can be a significant quality-of-life upgrade, even if it doesn’t noticeably affect the function of the rifle.
Bolt Carrier Groups
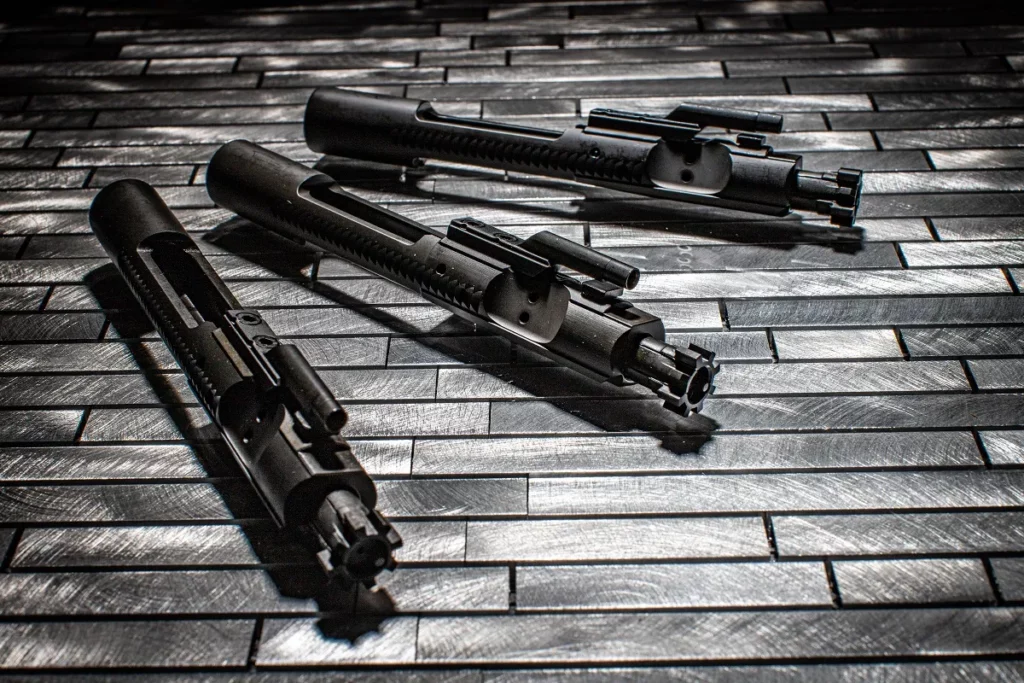
As with charging handles, replacement bolt carrier groups are drop-in parts that can be installed by any AR-15 owner.
BCGs, for the most part, all do the same thing. If you’re happy with the way your AR-15 and your current bolt carrier group perform, don’t expect a new one to result in a radically different firing experience. But, as with charging handles, BCGs can offer a remedy to certain issues that commonly affect AR-15s and provide a few conveniences as well.
If you’ve ever had issues with an over- or under-gassed rifle, for instance, an adjustable BCG like the one available from Bootleg Inc. can offer a solution—one that doesn’t involve the more labor-intensive process of removing your gas block and replacing it with an adjustable one. An adjustable BCG provides a way to fine-tune your rifle’s gas system if more broad adjustments like changing recoil springs or buffer weights prove insufficient.
Even if your rifle already runs perfectly, an upgraded BCG can be convenient. Bolt carrier groups are available with a wide variety of different materials and finishes. A nice finish can give your rifle a bit of character, but more importantly, a nice slick finish like Cryptic Coatings’ DLC can make cleaning your bolt carrier group much less labor-intensive.
Slicker finishes help to prevent carbon build-up from adhering as strongly to the surface of the bolt. This makes it easier to remove when you go to clean your rifle—in some cases, as easy as just wiping it with a paper towel.
Wrap Up
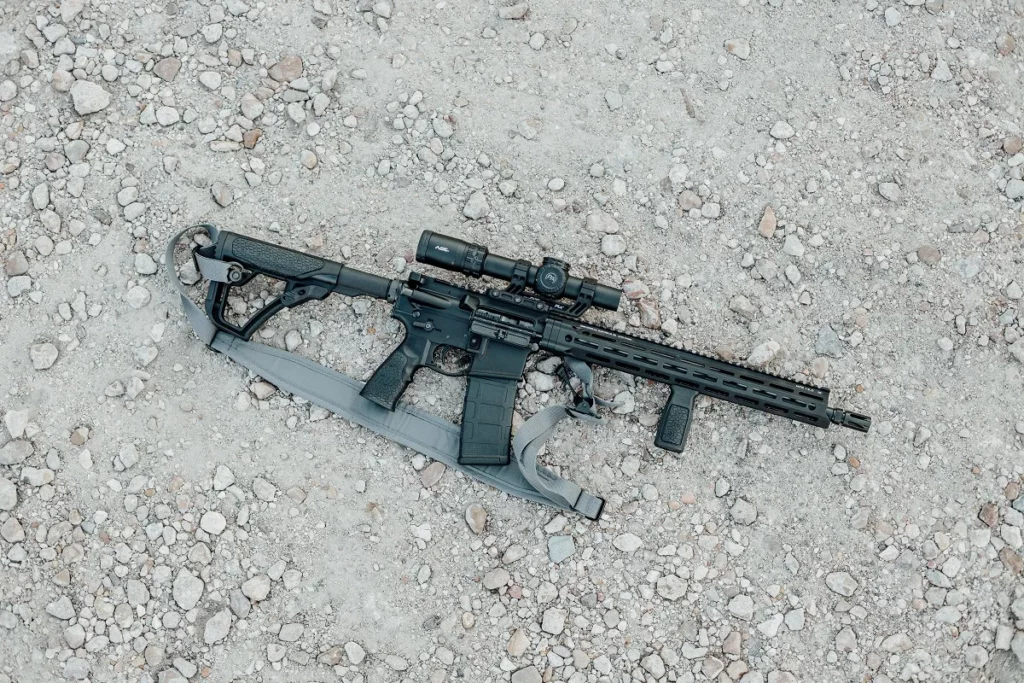
With the right tools and a little know-how, there’s no limit to what you can customize on your AR-15. But, even if you just got your rifle last month and don’t have tools or experience yet, you can still get in on the fun and start modifying your rifle to fit you better.
Charging handles and bolt carrier groups can both be dropped into your rifle without needing so much as a flathead. Foregrips, rifle furniture, and optics can all make a significant difference to your performance and require only the turning of a few bolts to install. Customizing your rifle is half of the experience of owning it; don’t wait until you’ve stocked an entire workshop’s worth of tools to get started.


